How to Find the Pleiades on Your First Stargazing Night
No telescope required for step one — just Orion, a clear night and a plan for what comes next.

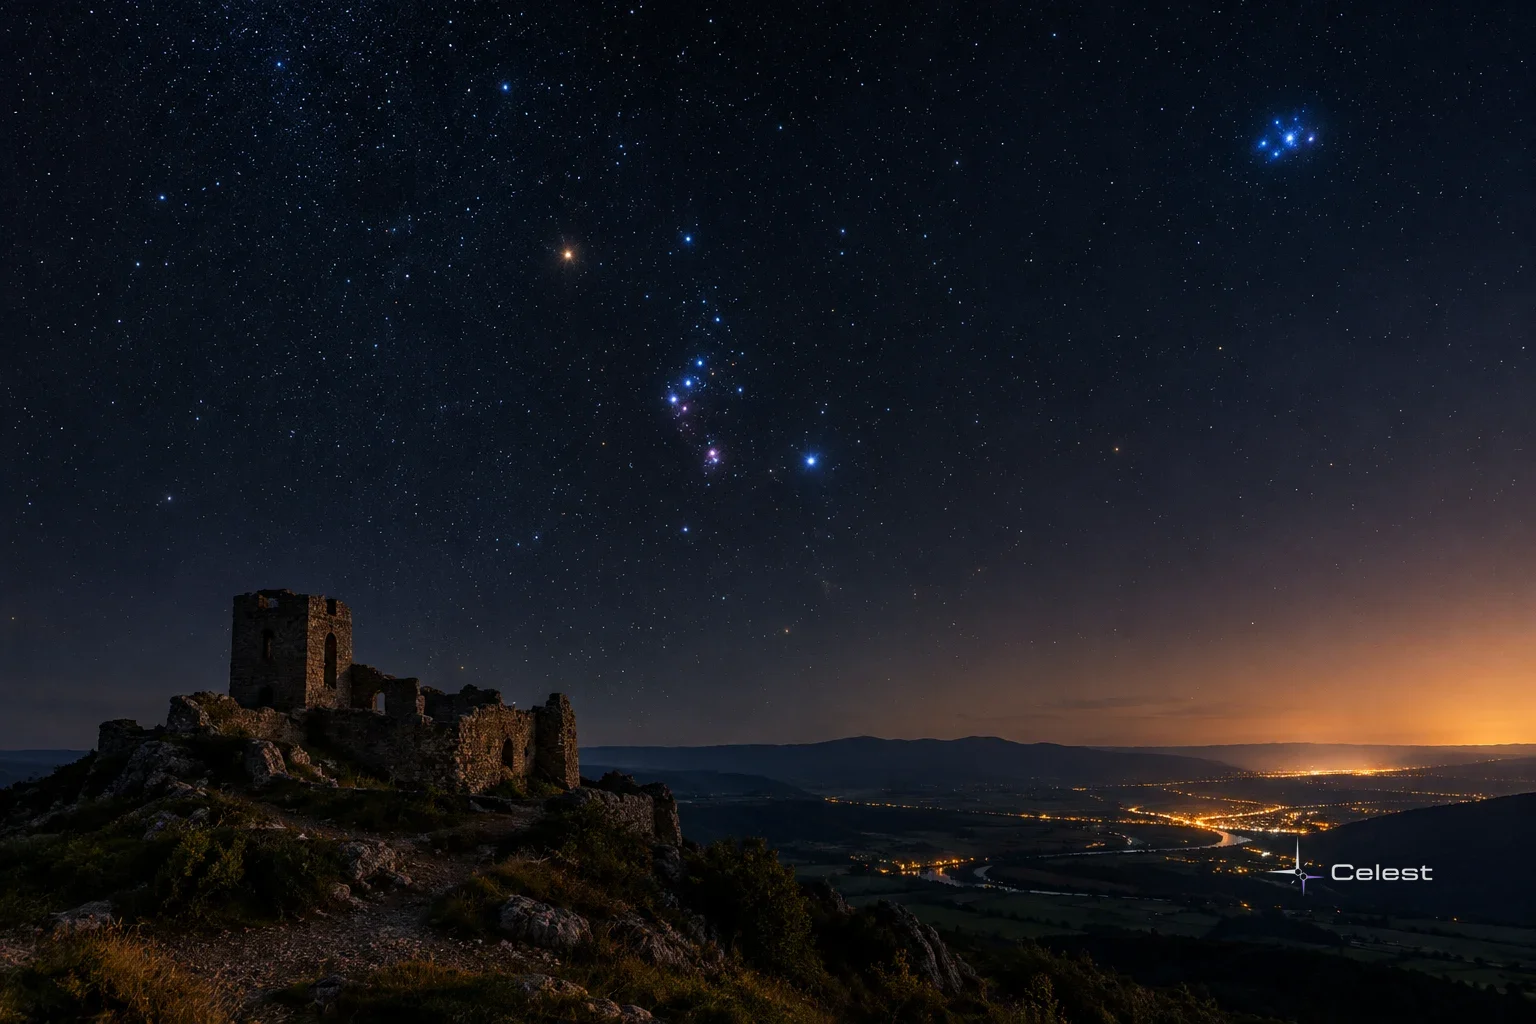
Success on your first night out looks like a small, tight knot of stars sitting off to one side of a much bigger, brighter pattern — the Pleiades, sometimes called the Seven Sisters. You'll find it with nothing but your eyes, and once you've seen it, you'll spot it again in seconds every time you go back outside.
No telescope is required for this first step, and that's the point. The telescope question can wait, and it's really two separate questions: do you want to look through an eyepiece yourself, or do you want the scope to capture the image for you?
Those two goals lead to very different equipment, so it's worth settling the star hop first and the purchase second.
Before you go
A few conditions decide whether tonight is a good night, and checking them takes two minutes before you step outside.
- Season and time: Orion, your starting point, is a winter constellation that can still sit in the evening sky into spring — check the night sky guide for what's up from your location tonight.
- Moon phase: a full Moon washes out faint targets, so a night near new Moon or a thin crescent gives you the best contrast — the Moon guide shows tonight's phase.
- Darkness and dark adaptation: give your eyes about thirty minutes without checking a bright screen; if you need light, use a red torch or your phone's night mode.
- Sky conditions: clear, low-haze skies matter more than anything else — the observing conditions page shows clouds and darkness for your area right now.
- Direction: face the part of the sky where Orion is standing; it rises in the east and climbs higher as the night goes on.
- Equipment: none is required for this route, though binoculars help — a beginner telescope, if you buy one, should pass a short set of minimum tests before it earns a place in your kit.
Find it in four steps
This route works by star hopping — starting at one bright, unmistakable star and hopping from pattern to pattern until you reach a fainter target you couldn't have found on your own.
- Find Orion the Hunter. Look for three bright stars in a short, straight row — that's his Belt. Orion is one of the easiest constellations to recognize once you've seen the Belt once.
- Start at the western belt star, Alnitak, and draw an imaginary line north. Follow that line until you reach a single coppery-orange star standing somewhat apart from its neighbors — that's Aldebaran, in the constellation Taurus.
- Keep going past Aldebaran along the same line. A little further on, you'll run into a small, compact group of stars huddled close together — that's the Pleiades cluster.
- If Orion hasn't risen yet, use the Big Dipper instead. Follow the curve of its handle south to reach the orange star Arcturus, or run a line through its two front-bowl stars, Merak and Dubhe, to find Polaris and, beyond it, the zig-zag of Cassiopeia.
Star hopping matters because only the brightest stars are visible without help; without a route from star to star, hundreds of fainter sights go unseen.
The same logic decides whether a starter telescope for adults is worth buying at all — a scope only helps once you already know where to point it, which is exactly what this kind of route trains you to do.
How to know you've found it
The Pleiades look like a tiny, tight dipper of stars to the naked eye — most people count somewhere between five and seven points of light. Through binoculars, the same patch fills with far more stars, and it's widely described as one of the best sights binoculars can show.
Aldebaran, the coppery star you passed on the way, is not part of the cluster — it just happens to sit on the same line, closer to you.
It's worth calibrating expectations here: through a telescope eyepiece, galaxies and nebulae usually appear as faint grey smudges rather than the vivid colour you see in photographs. Bright stars and planets are the objects that actually show colour to the eye.
If you can't see it
A few common snags explain most failed attempts, and each has a quick fix.
- Orion is nowhere in sight: it's a seasonal constellation and may simply be below the horizon or blocked by a building or hill. Try again later in the evening or wait for a winter or spring night.
- You see Aldebaran but no cluster: light pollution can wash out the fainter Pleiades stars. Switch to binoculars, or check the light pollution map to find a darker spot nearby.
- Too many stars, none of them recognizable: a star chart or app set to show very faint stars can bury the pattern in clutter. Simplify the display, or scan with binoculars instead, which naturally frame a wider view.
- Everything looks washed out: the Moon is likely up and bright. Check the Moon guide and plan the same route for a night nearer new Moon.
- You're not sure which constellation you're looking at: the constellation guide walks through recognizable shapes so you can double-check Orion or the Big Dipper before starting the hop.
What binoculars — and a telescope — add next
Once the naked-eye hop feels easy, the telescope decision comes down to one question: do you want to look, or do you want to capture an image?
For direct eyepiece viewing, an 8-inch Dobsonian is the usual recommendation — it delivers excellent visual performance and the most aperture for the money, though it's bulky, aimed by hand, and occasionally needs a mirror adjustment called collimation.
For imaging galaxies and nebulae with minimal fuss, a smart telescope handles GoTo pointing, tracking, focusing and image stacking automatically, but gives up the traditional eyepiece view and shows less planetary detail. Neither option is better across the board; it depends on what satisfies you more.
Whichever path you lean toward, any beginner scope should clear a short list of minimum requirements before you buy.
It needs at least 4 inches (about 100 mm) of aperture, plus a simple red-dot or bullseye finder rather than a small finderscope.
The mount should swing smoothly left-right and up-down, hold still once released, and let the scope point straight up without hitting a mechanical limit.
Aperture is what ultimately decides how faint an object the scope can reveal, so it's the single spec worth prioritizing. A realistic budget for a telescope built to last for years runs roughly $600 to $800.
The darkness of your sky, more than the telescope itself, decides how many deep-sky objects you'll actually see — which is one more reason the Pleiades hop is worth mastering with nothing but your eyes first. Browse more routes like this one in the astronomy guides section before deciding what, if anything, to add to your kit.
Leave a comment
Comments appear after moderation.