How to Use a Telescope: Start With the Moon
A lunar edge, a few craters and changing shadows make a useful first telescope session. Learn one repeatable route from finding the Moon to interpreting its terrain.

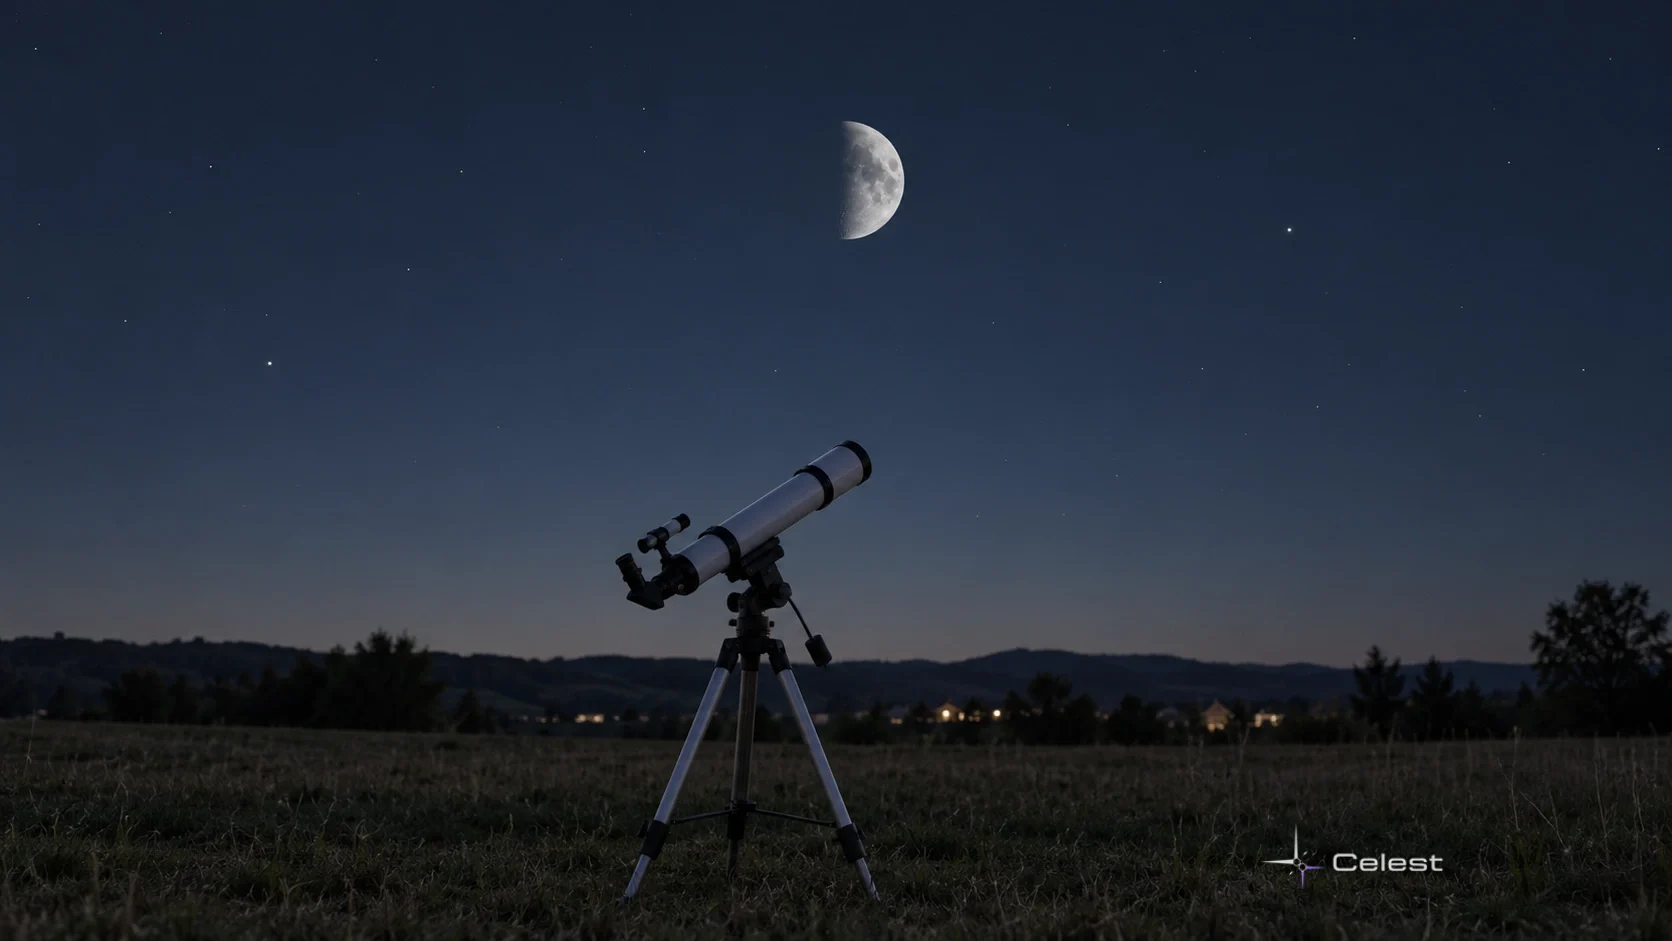
Your first successful telescope view can be a clear lunar edge, a few craters and the shadows beside them. Start with the Moon when it is visible, rather than a faint galaxy you cannot yet identify. You can compare its current appearance in the Moon guide.
Finding the object and focusing it are separate jobs.
The small finder helps you aim. The eyepiece is the removable optical part you look through, and the focus control sharpens its image. Learning what each does makes a first evening much less frustrating.
Prepare One Simple Lunar Session
Check the observing conditions, choose a clear view toward the Moon and set the instrument on firm, stable support. Assemble it according to its manual. Give the optics time outdoors as recommended; their temperature and the steadiness of the air affect the view.
You do not need the darkest possible sky to begin with this bright object. A phase other than full is particularly useful for studying relief, because stronger surface shadows outline craters and mountains.
Keep both telescope and finder away from the Sun, including during daytime practice. Solar observing needs suitable securely fitted filters at the front of the optics and separate preparation. Eclipse glasses behind an unfiltered telescope do not protect your eyes.
Align the Finder Before the First Night
A finder is a small auxiliary telescope or sight attached to the main tube. Its wider view makes pointing easier. Depending on its design, a crosshair or a red dot marks the direction. A red-dot finder displays its marker inside the sight.
Practise alignment in daylight on a distant, stationary landmark, safely away from the Sun. First centre the landmark in the main telescope using a low-power eyepiece, then focus it.
Keep the telescope still for the next adjustment.
Use the finder’s own controls to place its marker on that same landmark. Check a second distant object to confirm the match. After transport or a bump, repeat the check if the two views no longer agree. The exact screws or controls depend on your model.
Choose the Eyepiece That Makes Finding Easier
Begin with the lowest suitable magnification among your supplied eyepieces. On the same telescope, a longer eyepiece focal length gives lower power. Focal length is an optical focusing measurement printed in millimetres; it is not the width of the eyepiece barrel.
The low-power view generally shows more surrounding sky and is easier to focus. Check the labels or manual rather than choosing an eyepiece because its casing looks larger. Leave optional magnifying accessories aside while learning this first route.
Place your eye behind the eyepiece where the whole viewing circle is comfortable to see. Pressing too close or moving too far back can darken or hide part of the field. Adjust your head position before assuming the telescope is pointing at nothing.
Find and Focus the Moon in Five Steps
Locate the Moon with your unaided eyes. If you are planning another night, the live sky map can help you check its position for that evening. Start from an identified object rather than a guessed direction.
- Fit and secure the low-power eyepiece using the instrument’s instructions.
- Move the telescope with its normal mount controls until the Moon is centred in the aligned finder.
- Look through the eyepiece and gently adjust focus until the lunar edge and surface become clear.
- Centre an interesting area near the boundary between light and darkness.
- Try a higher power only after the object is centred; refocus and compare whether useful detail improves.
If you lose the view during an eyepiece change, return to low power and the finder. A smaller, sharp image gives you more to study than a larger blur.
Read the Shadows Before Chasing Small Craters
The terminator is the boundary between the Moon’s lit and dark surface. Near it, low-angle sunlight casts long shadows. Crater rims and mountain relief become easier to distinguish than under the flatter illumination around full Moon.
Start with one area and look carefully.
Notice the difference between a dark crater interior and the broad grey plains called maria. The plains are solidified volcanic lava, not simply every region that happens to be in shadow. This distinction makes the familiar bright disk into terrain you can interpret.
Troubleshoot One Change at a Time
- Moon in the finder, nothing in the eyepiece: return to low power and check that the two instruments still point at the same object.
- The whole view is soft: adjust focus gently before changing eyepieces.
- The viewing circle keeps going dark: change your eye position behind the eyepiece.
- Higher power produces a larger blur: step back down. Optical limits and moving air can prevent extra magnification from revealing more detail.
You do not need to change every adjustment at once. Keep the Moon as your known reference while testing one cause, then move to the next. Successful pointing makes it possible to judge the focus; a clear image makes the next observing decision easier.
Return to the Same Terrain on Another Night
Look at the Moon on different days and phases. The changing illumination brings different slopes and crater rims into relief. If you note one recognizable area, you can compare how its shadows change rather than merely collecting a larger image.
That is a useful first observing project: the same landscape, seen under a different direction of sunlight. The telescope becomes a way to investigate a change you can actually follow.
Leave a comment
Comments appear after moderation.