Stargazing Without a Telescope: Your First Clear Look
Your first observing session can begin with a few bright points and a familiar shape. Learn a simple route, protect your night vision and set realistic expectations for what you will see.

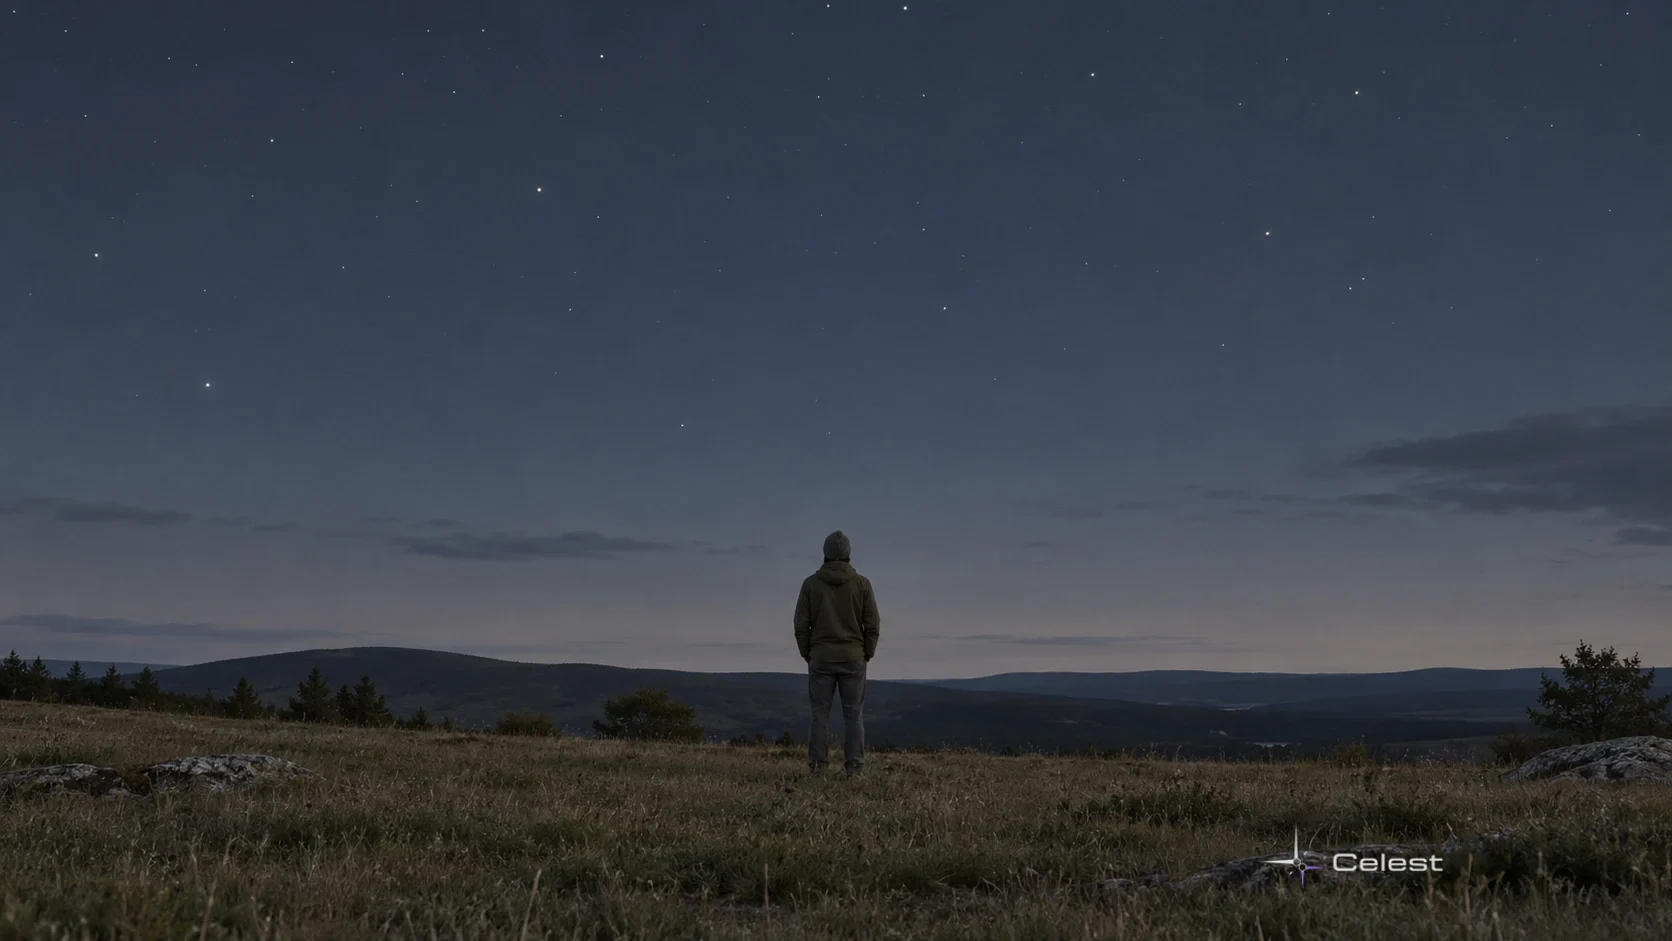
You can start stargazing without a telescope by identifying a few bright stars and learning one small pattern.
The first reward is a real connection between a name on a map and a point of light above you. Broad shapes, bright planets when visible, and the Moon are worthwhile sights in their own right.
A dark rural sky adds fainter stars and, in suitable conditions, the pale band of the Milky Way. You can still learn bright landmarks from a town. Begin with what your evening offers rather than treating a spectacular photograph as the entry requirement.
Before You Go
- Choose a comfortable, familiar place with an open view toward the stars you want to find. Move away from direct glare where possible.
- Set a sky map for your observing area, date and time. Select one named bright star and a simple nearby shape before going outside.
- Check the evening conditions. Give a first attempt a fair chance by choosing a usable stretch of night.
- Check the Moon’s position. For faint stars or the Milky Way, favour a time when bright moonlight is absent; on a moonlit evening, enjoy brighter sights.
- Allow roughly 20–30 minutes for your eyes to adapt, and longer if needed. Keep bright screens and white lights out of the session.
Start With One Bright Star in Five Steps
- Orient the map. Open the sky map, confirm your date and area, and match its labelled direction with the part of the sky you can see.
- Choose one clear starting point. Select a bright star shown in that open part of the map. Read its name and note the nearest recognisable pair, line or triangle of stars.
- Look up with the screen away. Find the bright point first, then compare the positions of its neighbours. A small shape is easier to check than a page full of names.
- Give the view time. Stay with that region while your eyes adjust. If you need to consult the map again, keep the display brief and as dim as practical.
- Confirm the match. Check the same neighbouring points against the map. Once the shape fits, name your starting star aloud or jot it down and follow one nearby feature.
This route works without assuming you already know Orion or the Big Dipper. Your chosen map supplies a suitable starting point for the actual evening. Learning the wider constellations then becomes a way to connect landmarks you have already seen.
How Will You Know You Have Found It?
The useful check is the surrounding pattern, not brightness alone.
Several points may look striking in an unfamiliar sky. When the named star and its nearby arrangement agree with the map, you have a much stronger identification than a guess based on one bright dot.
If a planet is present, it generally looks like a bright point too. Mercury, Venus, Mars, Jupiter and Saturn can all be seen without a telescope at suitable times. Treat that list as possibilities across the changing sky; let your current map identify what is actually available.
Why Does the View Change While You Wait?
Your eyes become more sensitive in low light.
The National Park Service suggests around 20–30 minutes for adaptation; NASA notes full sensitivity can take half an hour or more. A few extra minutes can therefore reveal faint stars that were difficult to notice when you first arrived.
Keep that improvement by limiting bright light. A necessary lamp should be very dim; red light affects night vision less than white light. Put the phone away between checks instead of repeatedly switching from the sky to a bright screen.
If the View Is Disappointing
- Only a few bright points stand out: check for nearby glare and skyglow. Keep learning those landmarks, then try a darker viewing direction or site for fainter stars.
- The pattern does not fit: confirm the map’s date, time and direction before choosing a new starting star.
- The Milky Way is missing: check its mapped position and moonlight. Its faint band needs a darker sky than a bright star does.
- Your view looks plainer than a photo: remember that a camera can collect faint light over a long exposure. Use visible shapes and identities as the first-session goal.
What Can You Add Next Time?
Return to the same recognised pattern on another suitable evening. Add one neighbouring star, or compare the Moon’s position when it is nearby. Familiar landmarks make those changes easier to notice and give each new outing a clear starting point.
Binoculars can later reveal fainter stars and finer detail; a telescope can add views such as Saturn’s rings. Your wide unaided-eye view remains useful alongside them.
You have begun learning where things belong before narrowing the view to inspect one of them.
Leave a comment
Comments appear after moderation.