Photograph the Moon Through a Telescope With Your Phone
A white lunar disk may need less exposure rather than more focus. Learn a repeatable phone-through-eyepiece method and judge success by the terrain your picture preserves.

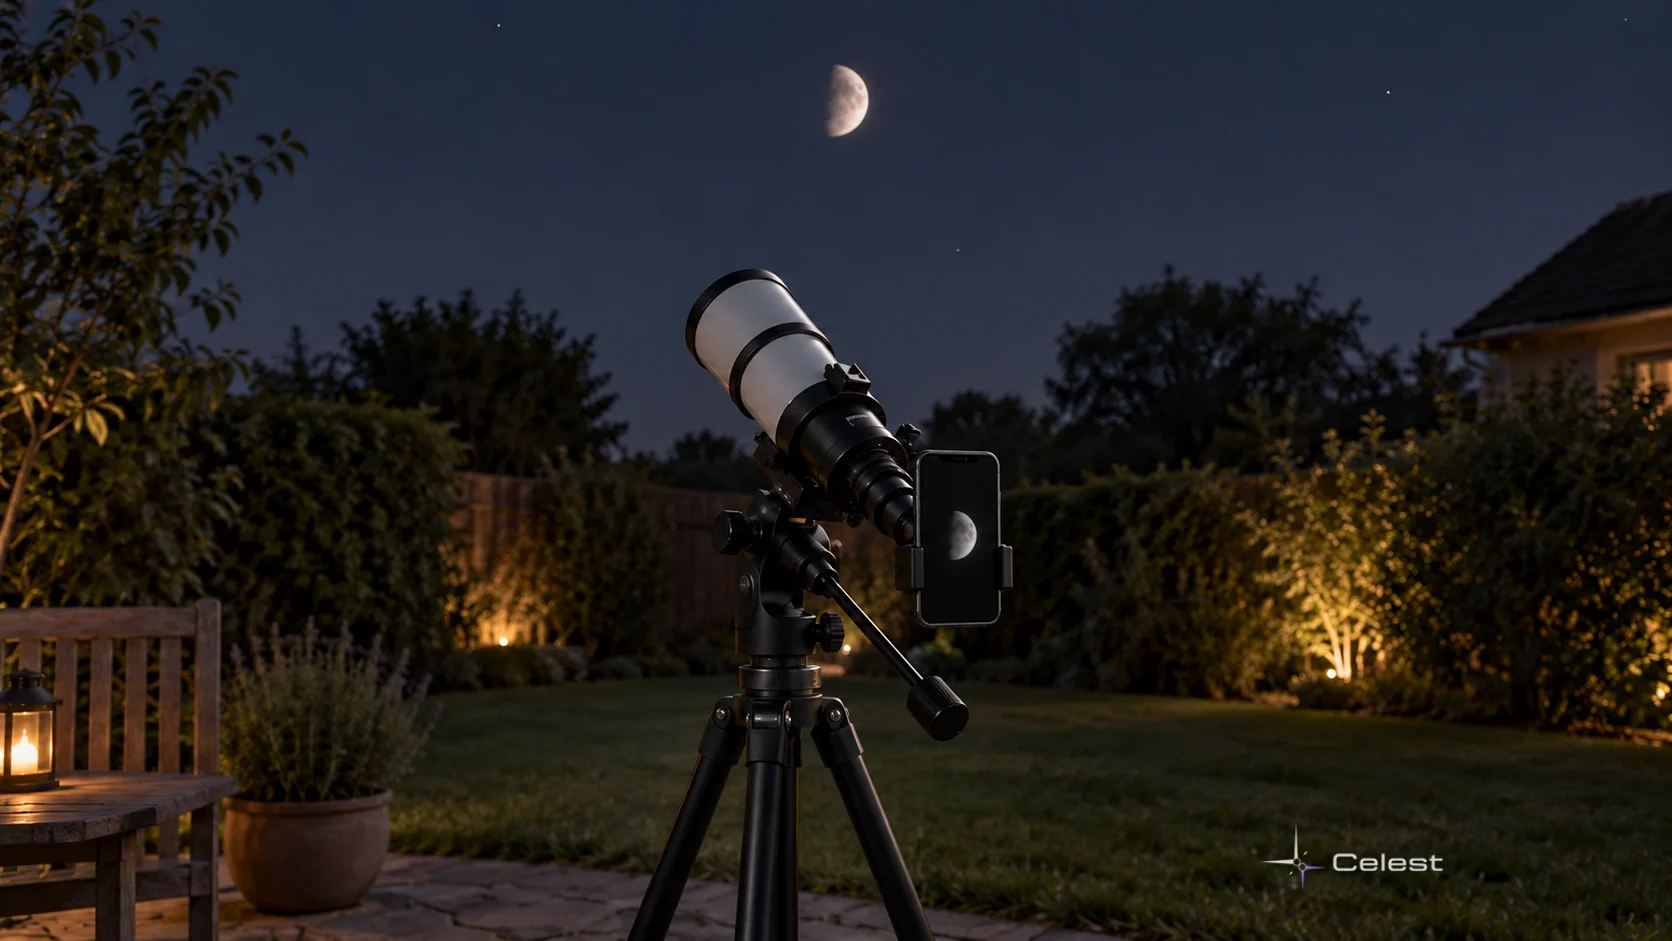
You can photograph the Moon by holding a phone camera over a telescope eyepiece. A useful first image shows a recognisable lunar edge and some grey terrain. It need not fill the whole screen. Start by checking the phase and appearance in the Moon guide.
The usual beginner problem is keeping the camera aligned while controlling brightness.
This is called afocal photography: the telescope eyepiece and the phone’s own lens both stay in place. The camera looks into the eyepiece, much as your eye does.
Prepare a Clear Lunar View First
Check the observing conditions, then set the telescope on stable support. Find the Moon and focus its edge and terrain with your eye before adding the phone. If the starting view is unclear, attaching a camera adds another adjustment before you have solved the first.
A phase other than full often gives stronger relief near the terminator, the boundary between lit and dark lunar ground. Long shadows emphasize crater rims and mountains. The live sky map helps you check the Moon’s position for the evening you choose.
Keep the telescope, finder and camera arrangement away from the Sun. A phone screen does not make unfiltered solar optics safe. Solar photography needs suitable securely fitted filters and a separate procedure; this guide concerns the Moon at night.
Align the Camera Before Changing Exposure
Centre the camera lens you are using over the eyepiece opening. Move it gently until the viewing circle appears on the phone. If the frame suddenly becomes black or shows a clipped crescent, check this alignment before turning the telescope away from the Moon.
Holding the phone by hand can work, but keeping it steady is awkward. A compatible eyepiece adapter can hold it in position. Follow the support’s instructions and check that the phone stays secure without pulling the eyepiece out of place.
Keep a manageable amount of sky around the lunar disk while learning. A heavily enlarged view is harder to keep centred. Digital zoom may simply crop existing pixels; it cannot by itself reveal new optically recorded surface detail.
Take the First Picture in Six Steps
- Find and focus the Moon through the telescope before fitting the phone.
- Position the camera over the eyepiece and adjust until the lunar view appears on screen.
- Support the phone securely and centre the part of the Moon you want to record.
- Refine the telescope focus; use a focus lock if your camera app offers it. Reduce exposure if the Moon is a blank white disk.
- Use the shutter timer, when available, so touching the screen does not shake the exposure.
- Take several test frames, inspect the saved images and change one setting at a time.
If the Moon drifts out of the frame, recenter it before the next attempt. A stationary telescope does not follow the sky, so Earth’s rotation moves the apparent view. The time available depends on the field and magnification; there is no single countdown for every setup.
Why Does the Moon Turn Into a White Disk?
Automatic exposure can try to brighten the dark sky surrounding the Moon. The much brighter lunar surface then loses detail in overexposed white areas. A sharp white edge can therefore be an exposure problem rather than poor focus.
Lower the capture exposure until grey surface differences become visible.
Change the camera’s exposure control, not just the phone display brightness. The exact controls vary by app. If manual exposure time is available, a shorter time records less light. Begin with small changes and compare the saved result rather than copying a fixed setting from another telescope.
Long exposures suitable for faint stars are not automatically useful for the bright Moon. The subject, optics and camera determine what works. If recording has genuinely saturated the bright detail, darkening that saved exposure cannot reconstruct information it failed to record.
Separate Shake, Focus and Lost Alignment
- No viewing circle: check camera position over the eyepiece.
- A clear-edged white Moon: reduce capture exposure and look for grey terrain.
- A soft or shaking image: check telescope focus, secure the support and try the timer.
- The Moon keeps leaving the frame: recenter it and consider a less magnified view.
You do not need to fix all four at once. A stable visible circle makes focusing easier; a sharp image makes exposure easier to judge. Try another frame after each adjustment and keep the result for comparison.
Judge the Photograph by the Detail It Preserves
Compare two attempts at the same lunar region. Look for a clearer crater rim, a distinguishable shadow or grey plains that survived the brightening. The biggest or brightest disk is not automatically the most informative one.
A first photograph can teach you how the setup records light. Once you can tell alignment, vibration and exposure apart, each test shows the effect of one controlled change.
Leave a comment
Comments appear after moderation.